
When it comes to my birthday cake, there are four main food groups I’m interested in:
- Chocolate Chip Cookie Dough
- Chocolate & Peanut Butter
- Cookies & Cream
- Funfetti, also known as RAINBOW BIT
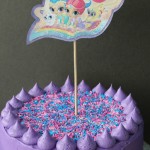
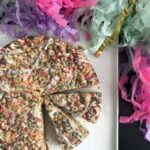
I recently made my niece a Chocolate Peanut Butter Mega Cake, so I wasn’t feeling that this year. Plus I made this Brownie Mosaic Cheesecake for Thanksgiving dessert, and since it has an Oreo Crust, that was fulfilling my Cookies & Cream vibes. Last year’s cake was this Milk & Cookies masterpiece, so by process of elimination, I knew this October it was time for some Funfetti!

I actually found the Rainbow Bit cake of my tween dreams in 2012, when I made this cake from Sweetapolita. I never really gave much thought to re-creating the Rainbow Bit FROSTING though. Who knew what those little bits were made of? They weren’t crunchy, were kind of soft, and really didn’t have a distinct flavour.
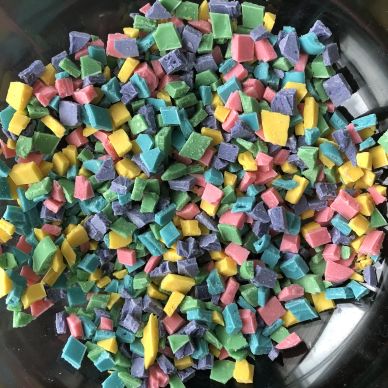
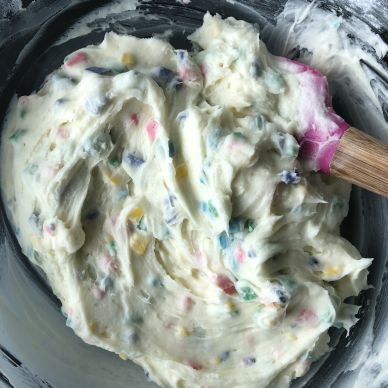
When I saw this recipe recipe for homemade Rainbow Bit Frosting on Sally’s Baking Addiction, I was just so excited. It looked exactly like the “tub of miracles” (Sally’s words) from my tween-hood. Sally created the bits by melting down white chocolate, colouring it, spreading it out on parchment, chilling it and chopping it up into little pieces. That probably seems like a ridiculous amount of work to some people, but to me it just seemed like a stroke of genius. The bits get folded into a luscious vanilla frosting with a bit of cream cheese for tang. I made sure to use clear vanilla so the icing stayed as white as possible.
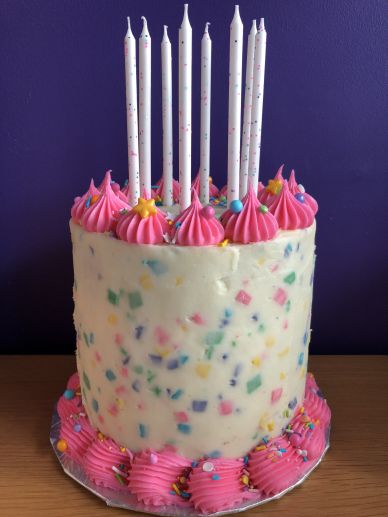
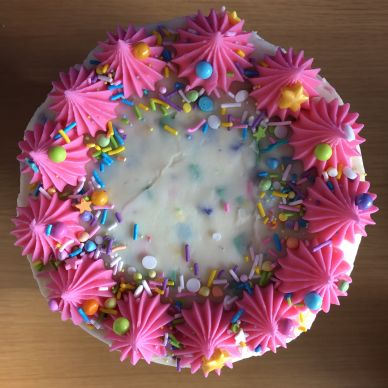
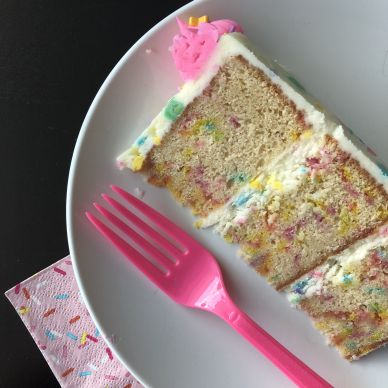
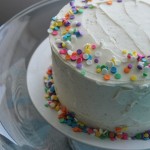
I love, love, love the way this frosting turned out! It’s even better than the tub in my opinion (I can’t even deal with canned frosting anymore, ew) and just so cute. I used it to frost a new cake recipe because I was feeling like trying something new, but next time I would stick with the original. The rainbow bits make it a little hard to spread the frosting evenly, but I was just patient and used a bench scraper to get the sides as smooth as I could. I mixed up a very small batch of My Favourite Buttercream and tinted it pink, then used a large star tip to pipe on the borders. The finishing touch was the Oh Happy Day sprinkle mix from Sweetapolita.
It’s a tween dream come true!
Rainbow Bit Icing
Source: Sally’s Baking Addiction
Ingredients
- 6 oz white chocolate
- 3/4 cup (1 1/2 sticks) butter, room temperature
- 6 oz cream cheese, cold, cut into cubes
- 3 1/2 cups icing sugar
- 1 1/2 tsp clear vanilla
Directions
- To make the rainbow bits, chop the white chocolate and add equal amounts to 5 little microwave safe bowls (or however many colours you want to make). Melt the chocolate in the microwave and stir until smooth. Add a very small amount of gel food colouring and stir until the colour is even. Be careful not to add to much gel or the chocolate will seize up.
- On a large piece of parchment paper, spread out each coloured chocolate in a thin layer. Slide the paper onto the back of a baking sheet (just to make it easy to pick up) and chill about 30 minutes until the chocolate is firm.
- Chop the chocolate into little bits and combine all the colours together.
- To make the icing, beat the butter and cream cheese together until smooth. Add the icing sugar and vanilla and blend again until light and smooth. Fold in the rainbow bits (the colour won’t bleed). Use on cake, cupcakes, or eat with a spoon!

Leave a Comment