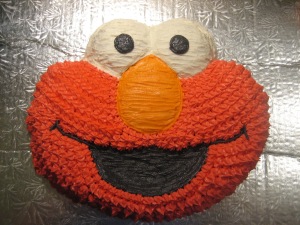
My niece Charlotte had her big 2nd birthday this summer and my brother and sister-in-law asked me to make her an Elmo cake for her party. I am super proud of how it all turned out, and I wanted to document the steps involved. I have four nephews/nieces under the age of 4, so I’m pretty sure my days of novelty cake decorating are probably just beginning.
Step 1: Cake Pan
I love my niece, but I was not really willing to invest in an Elmo cake pan that I would likely use once, maybe twice, in my life. Luckily, our friendly neighbourhood Bulk Barn rents out novelty cake pans for a small price. (Note: You also have to pay a $20.00 deposit fee, which you get it back when you return the pan, no big deal).
Step 2: Cake
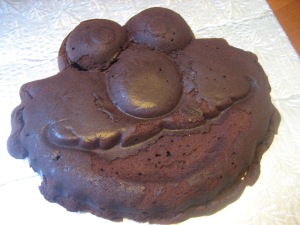
Joel asked for a chocolate cake, since he was attempting to make vanilla Cookie Monster cupcakes, and it was a toss up between recipes from either Anna Olson or Ina Garten. Since the Barefoot Contessa uses a bunch of espresso in her cake (probably not a good idea for the under-5 set), I used Anna’s. I also bought a bottle of Wilton Cake Release, because I had nightmares about the cake sticking to the pan and I didn’t trust PAM. Here’s what Elmo looked like when he came out:
Not too bad, with some craters near the eyes and questionable edges, but I figured I could fix that with icing. I actually baked this the weekend before the party, wrapped him in plastic wrap and popped him into the freezer.
Step 3: Decorating
I downloaded the icing/decorating instructions from the Wilton website, printed them off in colour, and probably read them 20 times prior to the actual decorating event. I made a list of supplies I needed, and either bought them or borrowed them from my friend Alexis.
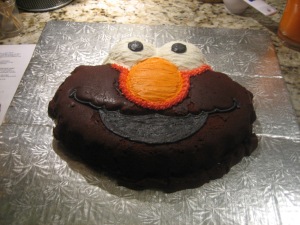
The Wilton instructions are great because they describe the quantities of each colour icing that are needed, the tips to use for each colour and the order you should decorate. I underestimated the time it would take to make the icing, divy it up into bowls, tint it, and load up the icing bags. Once I got going, here’s what he looked like:
The eyes, nose and mouth were pretty easy, and Wilton suggests you use a small, clean (obviously) paint brush to make it look smooth. After that, it’s just piping on the little starbursts in red. I was trying to do this slowly and carefully, but the longer it takes, the warmer and more mushy the icing gets in the bag, so you kind of have to do it fast. Stress! Alas, here is the finished Elmo:
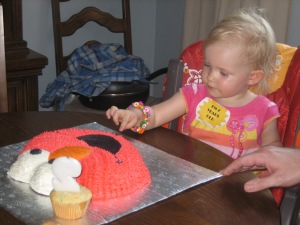
Yay! It was a big hit and the chocolate cake was super rich and fudgey. Here is the VIP of the day, ready to dive in:
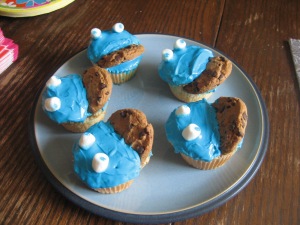
Finally, here is a picture of Joel’s Cookie Monster cupcakes, which are very cute too:
Onward!



Leianne
February 22, 2010 1:35 pmlove that the cookie monster cupcakes have a cookie in them! and i didn’t know bulk burn rented out cake pans… good to know.