
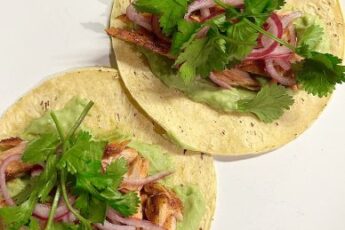
In my favourite episode of Insecure, Issa orders a BBQ Salmon Taco, then proceeds to drop it on the ground when she’s startled by an insanely hot dude approaching her, and it makes her SO mad. I laugh so hard every single time, even though I know it’s coming, and I re-named this recipe in......
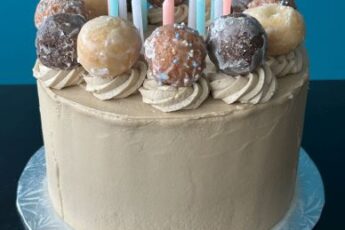
My friend Jen lived in Switzerland for about three years, and when she moved home in 2021, I felt inspired to welcome her back with a Double Double Cake. A Double Double is a fairly iconic drink at Tim Horton’s (it means a hot coffee with 2x cream and 2x sugar) and a classic Canadian......
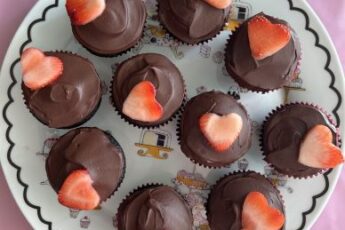
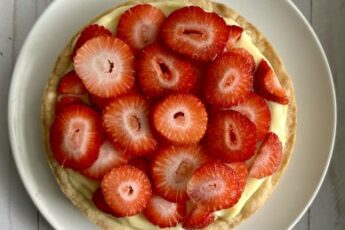
I had a little Galentine’s Day gathering last weekend, and there was one thing I knew right away I wanted to make: Chocolate Covered Strawberry Cupcakes! These were on my Valentine’s baking list last year, but I made the Strawberry Nutella Swirl Cupcakes instead. Good thing I STILL have multiple packs of freeze-dried strawberries lying......
It always feels nice to get back into a routine in January to help recover from the holidays. I did a little bit of baking, but a LOT of cooking at home, which is one of my favourite forms of self-care. Here’s what else was going on: My friend Erin and I had a catch-up......
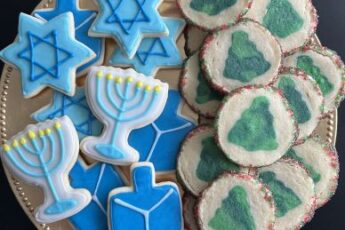
This was such a fun Christmas season! Lots of parties, baking and time to chill once the holidays were over. Here’s what I was cooking and baking in December: Jess had a Chrismukkuh Party and she asked if I could bring some Hanukkah cookies, which was my pleasure (she loaned me her cookie cutters and......
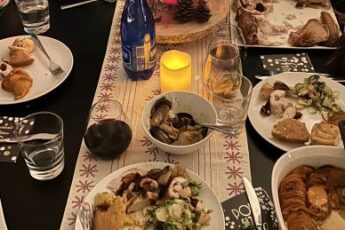
At some point during the pandemic, I started making Pinterest boards for dinner parties that I wanted to host when lockdowns finished and life returned to “normal”. To be honest, they were all various Thanksgiving themed boards, based around me FINALLY roasting a turkey for the first time in my life. I decided this was......

After a month of indulgence, I really tried to rein it in this month and cook a lot more at home. There were still a couple of foodie adventures though: My imaginary best friend Alison Roman was in town on her extended book tour, and I went to see her (again) with a couple of......
I’ve spent more time then I care to admit on TikTok this year, and as someone who’s been around since the dawn of food blogs, it’s kind of interesting to me how TikTokers demo and share recipes. There’s no space or time to give lengthy explanations of ingredients or explain a method, which is fine......

This was a month of full of fun and absolute indulgence in all forms! That’s what happens when Thanksgiving, your birthday and Halloween all fall in the same month: I got dragged at work last month when I was describing how KitKat is my hands-down, top-tier, go-to chocolate bar, and was called BASIC by numerous......
None of my usual birthday cake food groups were calling my name when I started thinking about what kind of treat I wanted to make myself this year. (For reference they are: Cookie Dough, Funfetti, S’mores and Chocolate/Peanut Butter.) I started flipping through a few cookbooks for inspo when I realized I STILL hadn’t made......